Alternate cable cast-on pour les côtes 2×2 / Alternate cable cast-on for 2×2 ribbing
![]() (English below)
(English below)
Vous connaissez peut être déjà la méthode cable cast-on. C’est une méthode que j’utilise tout le temps qui consiste à monter les mailles en tricotant. Je n’aime pas monter les mailles avec les doigts comme long-tail cast on car il faut toujours prévoir certaines longueurs, c’est difficile de donner une mesure précise surtout quand on a beaucoup de mailles à monter.
Aujourd’hui, je vous montre une méthode de montage des mailles pour les côtes 2/2. C’est une méthode améliorée à partir de l’alternate cable cast-on, qui permet d’avoir une bordure bien solide et élastique.
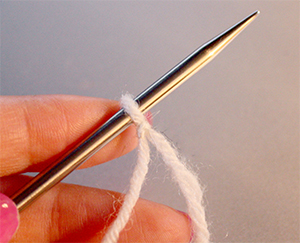 1. Faire une boucle sur votre aiguille. 1. Faire une boucle sur votre aiguille. |
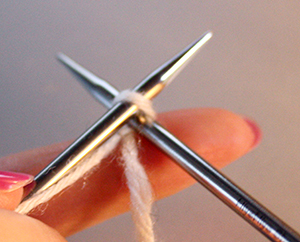 2. Tricoter 1m à l’endroit et la mettre immédiatement sur l’aiguille, cela crée 1m endroit. 2. Tricoter 1m à l’endroit et la mettre immédiatement sur l’aiguille, cela crée 1m endroit. |
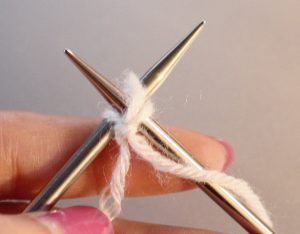 3. Tricoter 1m à l’envers entre la dernière m et la m précédente, la mettre sur l’aiguille pour créer une m envers. 3. Tricoter 1m à l’envers entre la dernière m et la m précédente, la mettre sur l’aiguille pour créer une m envers.4. Puis tricoter 1m à l’endroit entre la dernière m et la m précédente pour créer 1m endroit. 5. Répétez 3 et 4, créer 1m endroit et 1m envers alternées, jusqu’à ce que vous obteniez le nombre de m souhaité. Ici, c’est un multiple de 4m. |
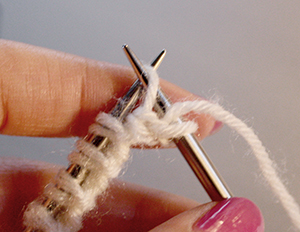 6. R1: tricoter une maille à l’endroit, ramener le fil devant, glisser la maille suivante, puis remettre le fil à l’arrière. Répéter ainsi jusqu’à la fin. En effet, vous tricotez uniquement les mailles endroit et glisser les mailles envers avec le fil devant. 6. R1: tricoter une maille à l’endroit, ramener le fil devant, glisser la maille suivante, puis remettre le fil à l’arrière. Répéter ainsi jusqu’à la fin. En effet, vous tricotez uniquement les mailles endroit et glisser les mailles envers avec le fil devant.7. R2: comme R1 (si vous tricotez en rond, tricoter toutes les mailles envers et glisser les mailles endroit avec le fil à l’arrière) |
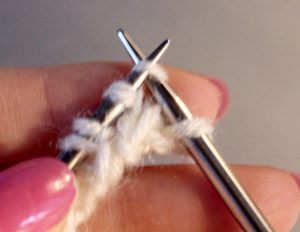 8. R3: Tricoter la 1ère m à l’endroit. La 2e m est une m envers, changer la place entre celle-ci et la 3e m comme pour faire une torsade de 2m croisée vers la droite, puis tricoter la 2e m à l’endroit, 3e m à l’envers et 4e m à l’envers. Répéter ainsi pour toutes les 4m jusqu’à la fin du rang. 8. R3: Tricoter la 1ère m à l’endroit. La 2e m est une m envers, changer la place entre celle-ci et la 3e m comme pour faire une torsade de 2m croisée vers la droite, puis tricoter la 2e m à l’endroit, 3e m à l’envers et 4e m à l’envers. Répéter ainsi pour toutes les 4m jusqu’à la fin du rang. |
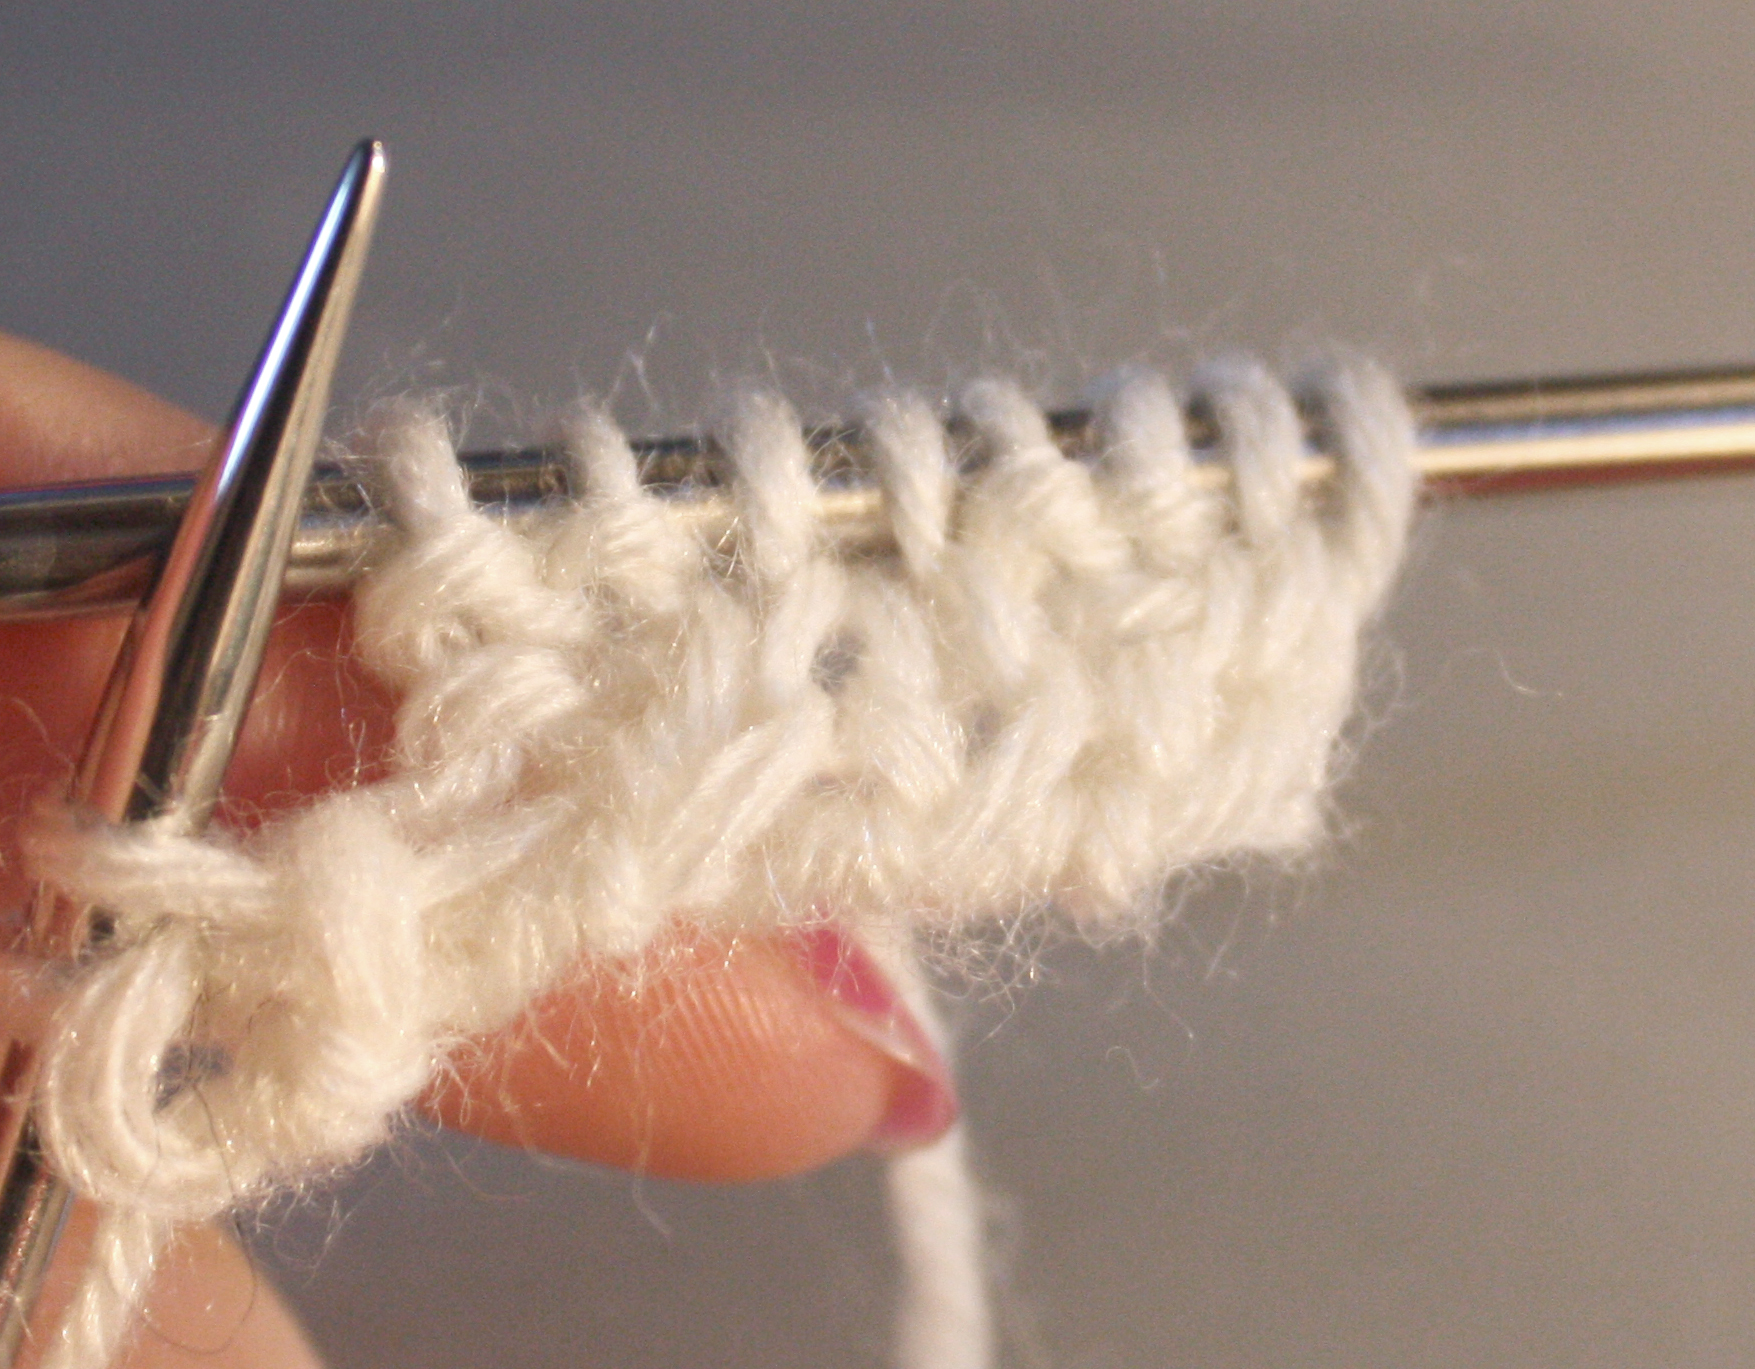
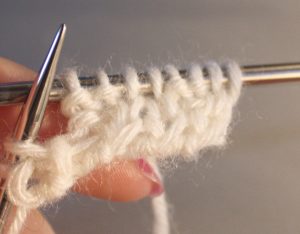 Avec cette méthode, la bordure de vos côtes est bien jolie et un peu plus épaisse pour éviter de se détendre après plusieurs lavages. Avec cette méthode, la bordure de vos côtes est bien jolie et un peu plus épaisse pour éviter de se détendre après plusieurs lavages. |
![]()
You may already know the cable cast-on method. It is a method that I use all the time, which consists of knitting the stitches. I do not like to cast on the stitches with my fingers as long-tail cast on because you always have to plan some lengths, it’s difficult to give a precise measure especially when you have a lot of stitches to cast on.
Today, I show you a method of cast on for 2/2 ribbing. It is an improved method from the alternate cable cast-on, which allows to have a solid and elastic border.
 1. Make a slip knot and place on your needle. 1. Make a slip knot and place on your needle. |
 2. Knit 1 st and place it immediately on your needle to create a knit st. 2. Knit 1 st and place it immediately on your needle to create a knit st. |
 3. Purl a st between the the last st and the one before it, place it on your needle. 3. Purl a st between the the last st and the one before it, place it on your needle.4. Then knit 1 st between the last st and the one before it for a knit st. 5. Repeat 3 to 4, creating alternative knit and purl sts, until you have the desired number of sts. |
 6. R1: Knit 1 st, bring the yarn in front, slip the next st, and bring the yarn in back. Repeat this to end. In fact, you only knit all knit stitches and slip all purl stitches with yarn in front. 6. R1: Knit 1 st, bring the yarn in front, slip the next st, and bring the yarn in back. Repeat this to end. In fact, you only knit all knit stitches and slip all purl stitches with yarn in front.7. R2: see R1 (if you work in the round, purl all purl stitches and slip all knit stitches with yarn in back) |
 8. R3: Knit the 1st st. The 2nd st is a purl st, change the place between it and the 3rd st as work a T2B st, knit the 2nd st, purl the 3rd st and knit the 4th st. Repeat this for every 4 sts to end of the row. 8. R3: Knit the 1st st. The 2nd st is a purl st, change the place between it and the 3rd st as work a T2B st, knit the 2nd st, purl the 3rd st and knit the 4th st. Repeat this for every 4 sts to end of the row. |
 With this method, the border of your rib is pretty and a little thicker to avoid relaxing after several washes. With this method, the border of your rib is pretty and a little thicker to avoid relaxing after several washes. |


Merci pour ces supers explications. Je les ai suivies pour mes côtés d’un cardigan et c’est top ! En revanche je voudrais faire la même chose sur les côtes de mes manches que je tricote en rond et là je suis complètement paumée…
Pourtant c’est la même chose…